23 October 2014

Review of Rimmel's Wonder'full with Argan Oil Mascara


Instead of doing a straight up review for this, I decided to compare it to my previous mascara, Rimmel's Scandal Eyes. In the pictures above I have the Scandal Eyes mascara on my left eye and the Argan Oil one on my right. Excuse my eyebrows in these - they were having a bit of an off week!

As you can see from the pictures, the Scandal Eye mascara is a lot clumpier than the latter. This makes it harder to see the effect of the Argan Oil mascara - it does give greater length, This is always a win for me as (ever avoiding using fake eyelashes) I'm always hunting for something to deceive people as to the length of my uber short eyelashes. 

We've all heard companies promoting argan oil recently as this new super-product that does wonders for your hair, skin and god knows what else. When I picked this  mascara up my first instinct was "really?! They're trying to market argan oil eyelash products?!". However I want to take that back now. This mascara, kindly given to me by my sister, doesn't dry my eyelashes out as much as other ones have in the past. It makes it relatively easier to get off, which keeps my eyelashes intact when using makeup remover. 

Any comments/questions are always welcome :)

Photographs as always are the property of Sophie Hartley

Love
Steph 


19 October 2014

Delicious Shoulder of Lamb


Now as part of my clean diet I generally don't eat red meat, instead sticking to chicken and turkey when I do have meat. However, a little treat is in order now and again, so I made this for me and the boyfriend last week. I always think that if you have treats like this, which aren't actually bad for you because they're done in moderation, it keeps you off the processed foods. or at least me. When I do have something like this I also usually eat incredibly well during the rest of the day so that it won't affect my diet.

Ingredients (serves 3-4):
Lamb shoulder
Dried Rosemary
Dried Thyme
Extra Virgin Olive Oil
Garlic 
Sea Salt
Ground Black Pepper

1.) I think it's best to prepare the lamb a number of hours before you intend to start cooking it. So I did the first part of this before going to uni for the day, and cooked it when I got home. This sounds like a lot of hassle, but it really isn't. I spent about ten minutes prepping it in the morning, so it didn't mean I was up in the early hours of the morning like some kind of nineteenth century housemaid. Thankfully. I started by finely chopping two large garlic cloves. 


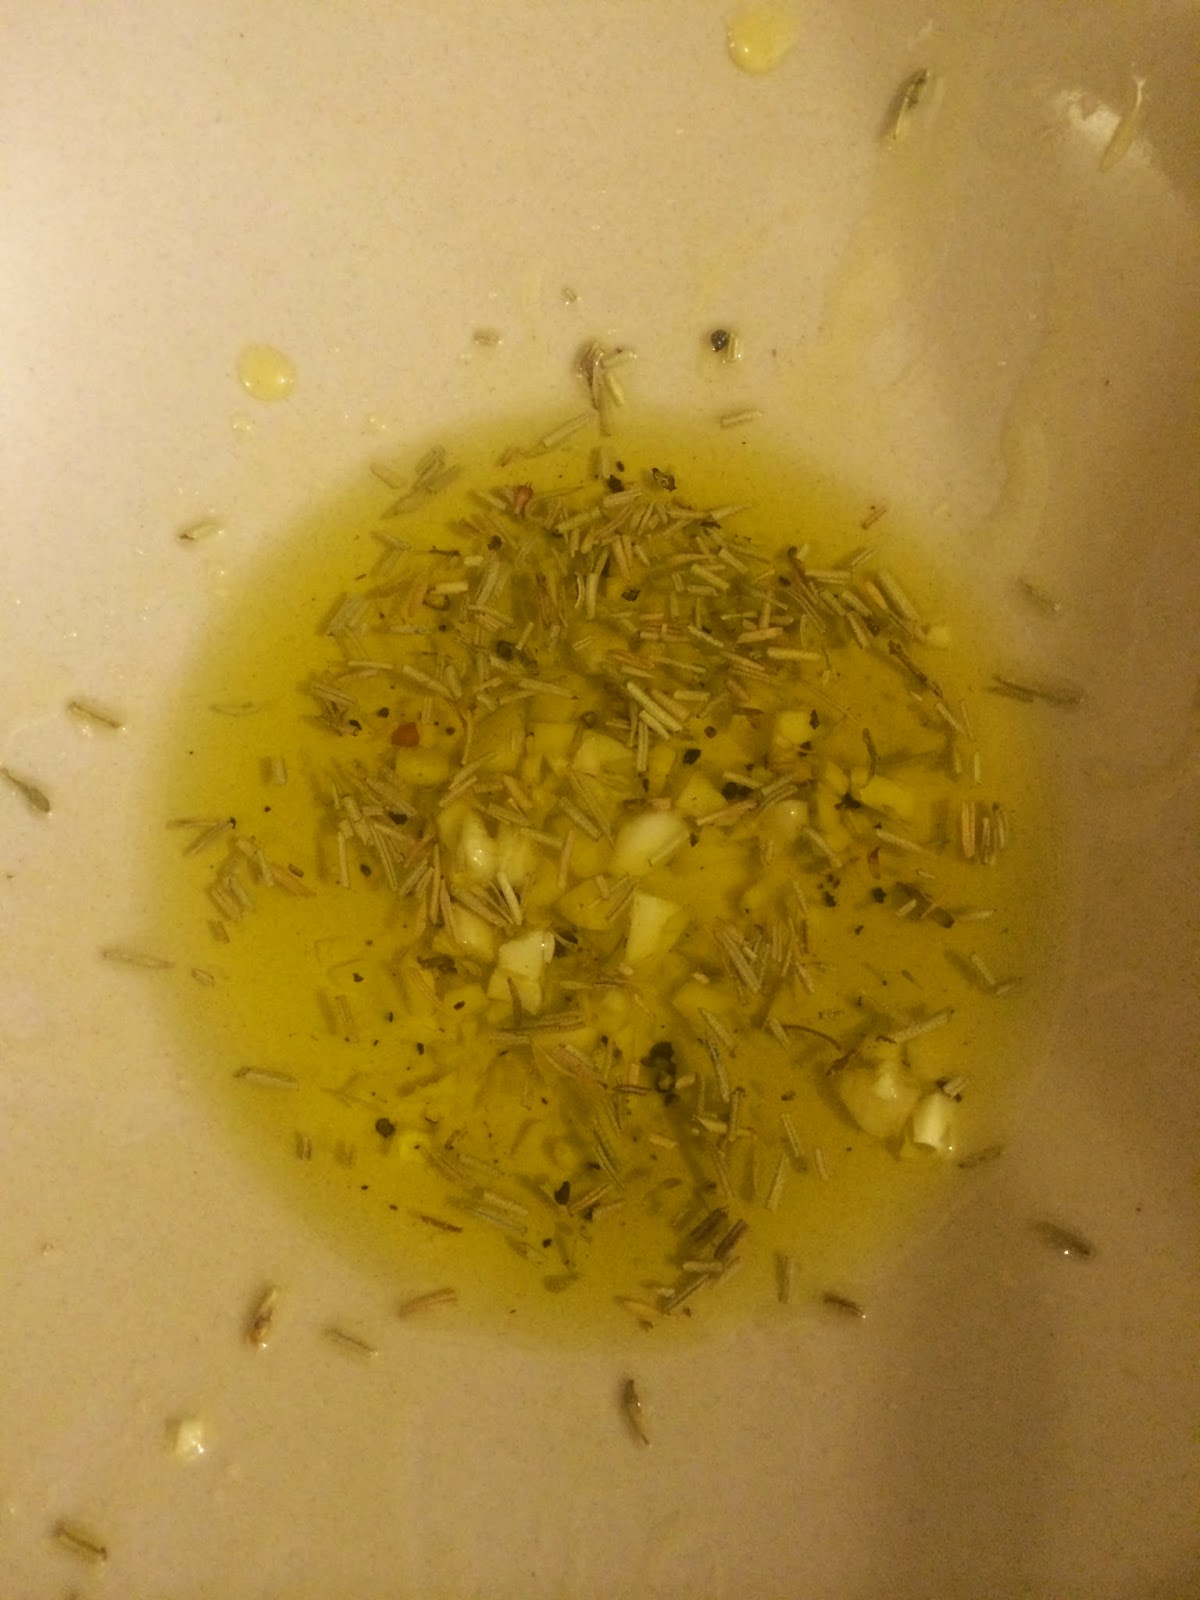
2.) Next I made the rub to go onto it. I put about four tablespoons of olive oil (adjust to the size of the lamb), a sprinkle of sea salt, half a teaspoon of black pepper, a teaspoon of dried rosemary and a pinch of dried thyme in a bowl. Sorry about the uber-long list. Give it a quick stir and add the garlic. 


3.) Rub onto the lamb. I also made little incisions into the meat in which I placed some garlic and rosemary. I feel that this always enhances the flavour a bit.


4.) Wrap in a couple of layers of clingfilm and place back in the fridge for a number of hours.


5.) Now it's time to actually get down to cooking. Preheat the oven to 150 degrees, or gas mark 2. Place foil over the lamb to retain moisture and cook for 3-4 hours. Every hour or so it's a good idea to baste the lamb again with the original mixture. This way none of the flavour gets lost with the cooking. 


I always thought that cooking lamb was something super hard that only my nan's level of expertise allowed you to do, but hey, if I can do it, so can you! 

Any comments/questions are always welcome

Steph :)


12 October 2014

Body Shop Haul


Blackhead Remover
Vitamin E Moisture Cream
2 in 1 Smokey Eyeliner and Brow Gel
Seaweed Clarifying Toner

I know I've been pretty absent over the last few weeks, but doing everything from being a Freshers Helper during the first week of term to obtaining recycling bins for the new uni house on top of a mound of reading has put me a bit behind. In a post I did a couple of months back on my favourite skincare range (here) I mentioned how much I love The Body Shop's products. They rarely fail to live up to expectations.

Living off of a student budget means that hauls (sadly) aren't really my thing. However, The Body Shop had a deal on for its "Love Your Body" members that I just couldn't pass up - 40% off, plus a free gift worth over £10 and free delivery if you spent over £5. I nearly pinched myself. Originally I'd aimed to spend just over a fiver, however I evidently got a touch carried away. Oh well, a girl can't have too many beauty products, right? 

I received the Vitamin E moisturiser as my free gift. I was a tad disappointed as I don't ever really use moisturiser on my face because my skin tends to get a bit oily. However, so far it's looking up. I'll be posting more detailed reviews of all the products at some point over the next few weeks. Sadly, this won't include the blackhead remover. I pursued a few (rather painful) attempts to use it and have it make some effect, but it just did nothing for me. Maybe my blackheads aren't big enough, or I'm too much of a softie to handle how uncomfortable it was, but for the foreseeable future it's been tossed to the back of a drawer, probably never to be used again.

Any comments/questions are always welcome 

Steph :) 


6 October 2014

Healthy Chicken Paella Soup


This summer was the first time in years in which I've travelled to another country. I was fortunate enough to spend a week in coastal Malaga, Spain with my boyfriend in June. Here I tried paella for the first time and fell in love with it. I'm not the world's greatest seafood fan, so what I ate wasn't *true* paella as it was chicken and chorizo based, but hey, it was paella in Spain so I'm counting it. During a bout of why-does-English-weather-suck in September I caved and bought a chicken paella meal soup from Sainsburys (try it, trust me you won't regret it). Living on a student budget and wanting to be as healthy as possible however, led me to create my own recipe - here it is!

Ingredients (makes 2 servings):

1 small chicken breast
2 cloves garlic
50g peas
1 can chopped tomatoes
60g brown rice
1 tsp lemon juice
Paprika
Ground black pepper
Salt
Thyme
Basil
Dried chopped chili
Parsley
Extra Virgin Olive Oil

1.) Preheat the oven to 200 degrees. 

2.) Boil some water for the rice. Start cooking the rice. Remember to check the pack for how long to cook it, but brown rice should take about 25 minutes to cook. I actually prefer brown rice to white rice, which is a win when you're trying to eat clean, but the recipe works equally well with white (although you'll have to adjust cooking times). 

2.) Pour a little bit of olive oil over the chicken. Season with ground black pepper, salt and basil. The olive oil helps to keep it from drying our whilst cooking so that you get a lovely juicy chicken. 

3.) Once the chicken is in the oven (it should take about 20 minutes to cook) you can start working on the sauce. Finely chop or crush the garlic. Heat a tiny bit of extra virgin olive oil in a pan and cook the garlic for one minute. 

4.) Add the chooped tomatoes. Now comes the seasoning. Add a pinch of the dried chopped chili, basil, thyme and parsley. Season with ground black pepper to your liking. Now it's time for the key ingredient: paprika. I'm not the greatest fan of spicy food, so if you are it may be wise to adjust the spice measurements to your liking. I usually end up putting between 1/2 and 1 teaspoon of paprika in. The best idea is to measure along the way to make sure you adjust it to your liking. 

5.) Leave the sauce to simmer on a low heat for 15 minutes.

6.) Whilst it's cooking, boil some water for the peas. Cook for roughly five minutes. Add the peas to the sauce.


7.) By now the chicken should be cooked. Slice it up into thin strips and add to the sauce.


8.) Finally add the rice and serve. You can reheat the second serving for another day. 


Love and Light,
Steph :)

**DISCLAIMER** 
All photos are property of Sophie Hartley


3 October 2014

Review of Bootea's teatox package


Sorry about the massive picture spam, but I wanted to make sure to show you guys all the different aspects of the bootea package. My sister kindly bought both of us the bootea 14 day teatox package. I was staggered by the price - £19.99 for 21 teabags? You must be having a laugh. Anyway, I'd heard mixed reviews about this product - some people claimed it helped them lose half a stone, whilst others stated that it was simply a waste of money. As you can imagine I was slightly skeptical when I embarked on this detox. 

I'd wanted to detox before I go back to uni to give my body a bit of a chance to reboot before I went back to drinking and depriving myself of sleep (the joys of student life). The basic premise of the package is that you make sure you only drink the tea itself, water and green tea. That means no fizzy drinks or coffee. Personally I only ever drink either green tea or water anyway, so this posed no challenge. Inside the bootea box are two packages: 14 day teabags and 7 night ones which you drink on alternate days. 

On day one I found the taste of the morning tea a bit startling. I'm  neither a fan of lemon or ginger, and I'd never heard of a couple of the ingredients. However, as the days went on I became accustomed to the taste and ended up sort of enjoying it. The night time tea tastes a little pepperminty. I actually preferred this one and ended up getting into a healthy night time regime by having it before bed.

Now for the results. I didn't really see any. I'm unsure as to whether the teatox only helps you lose weight because you cut out the bad drinks you normally drink, and my body was used to not having them anyway, or whether the tea just didn't have a huge effect. Having said that, I did feel a lot less bloated after meals, even big ones. All in all, I liked the internal effects of it, but a weight loss tea which didn't actually help me lose weight isn't worth £19.99 in my opinion. Since the teatox I've bought some lemon and ginger and peppermint tea because of the effects that I mentioned before. Although these teas aren't as effective at reducing bloating as the bootea was, they're a lot more budget friendly.

Have you tried it? What did you think?
Steph